Plants thrive on care and attention. Just like we need space to grow, plants, too, need room to stretch, breathe, and bloom. Repotting can give them the energy and space they need to grow stronger and healthier.
In this blog, let's explore the signs that it's time for a change, how to repot your plant, and tips to ensure it flourishes in its new home.

Why should you repot your plant?
Several indicators can show that a plant needs repotting. Recognizing these signs is crucial when deciding whether to repot or not.
1) Roots growing out and coming out of the bottom drainage holes:
When roots protrude from the drainage holes at the bottom of the pot, it indicates that your plant has outgrown its current home. This is a clear sign that the roots are searching for more space and can lead to root binding if not addressed promptly.
2) The plant is getting too big for the pot:
If the plant seems overly large for its pot, with leaves spilling over and little room for growth, it may be time to repot. A pot that is too small restricts growth and can lead to stress, which may ultimately affect the plant's health.
3) Leaves are turning yellow:
Yellowing leaves can indicate several issues, including nutrient deficiencies, overwatering, or poor drainage. Poor drainage may occur if the soil has become compacted and is no longer fluffy enough to absorb water. In such cases, it is best to repot the plant.
4) Nutrient depletion:
Over time, the soil in a pot can deplete essential nutrients. If your plant is not thriving, it may benefit from a nutrient boost through fertilization or a complete soil change. Regularly monitoring and replenishing nutrients is crucial for healthy growth.
5) Soil compaction:
Compacted soil can hinder airflow and water drainage, leading to unhealthy growing conditions. If the soil feels hard and dry, it may be time to repot to provide a better environment for root growth.
6) Root rot or pests:
Root rot often results from overwatering or insufficient drainage and can be identified by wilting or browning roots. Pests can also damage and stress plants, leading to similar symptoms. Regularly inspecting the roots and leaves can help catch these issues early.
7) When the plant pushes itself out of the pot:
If you see the plant physically rising or pushing itself out of its pot, it strongly indicates that it requires more space for its roots to grow. This visual cue shows that repotting is necessary for the plant's health and well-being.
8) When to repot your plant?
Timing is crucial when repotting your plants for their health and growth. A good rule of thumb is to repot your plants every 12 to 18 months, but this can vary based on each plant's specific needs and health.
The best weather for repotting is typically during the spring and early summer. This is when many plants naturally enter their active growth phase, making them more resilient to disturbance.
Ideal temperatures generally range between 15°C to 24°C, promoting root growth and recovery. Choosing a mild and overcast day can also be beneficial. Avoid repotting during extreme temperatures, whether hot or cold, as this can shock your plants and hinder their acclimatization to their new environment.
By repotting during the right season and in optimal weather conditions, you ensure your plants receive the fresh nutrients they need while minimizing stress and promoting robust growth.

How to repot houseplants and outdoor plants?
Follow this clear, step-by-step guide when repotting indoor and outdoor plants.
Step 1: Gather Your Supplies. You will need: -
- A new pot (3 to 5 centimetres larger than the current pot)
- Fresh potting soil (preferably with perlite for better drainage)
- Gardening gloves
- A small trowel or scoop
- Watering can
- Potting mat (optional, for less mess)
Step 2: Prepare the New Pot
Ensure that the new pot has drainage holes at the bottom. If the new pot has many small holes, you can put your potting mix straight at the bottom. If it has one or more large holes, use a 50% shade cloth or coarse gravel to stop the soil from spilling out of the bottom of the pot. Add a small amount of fresh potting soil to the bottom of the new pot to create a base for your plant.
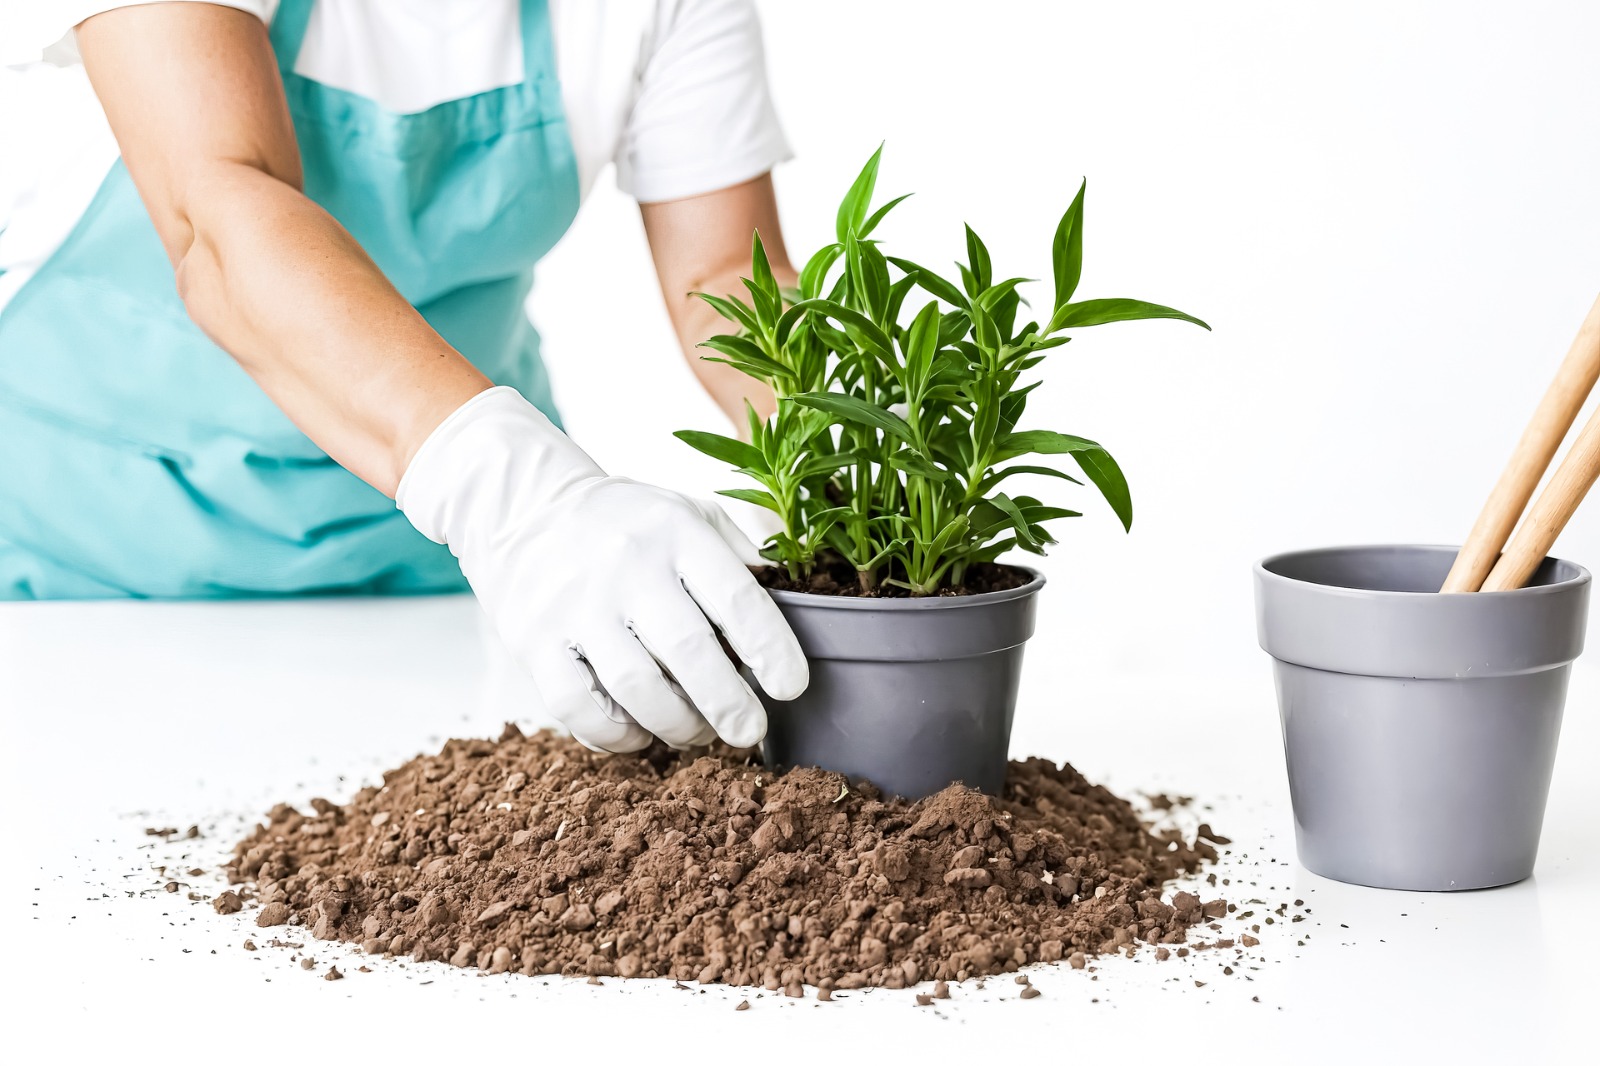
Step 3: Remove the Plant from its Current Pot
Gently squeeze the sides of the current pot to loosen the soil. If the old pot is made of terracotta or concrete, tap the sides using a wooden stick or your closed fist and gently lift the plant outwards.
Another way is to carefully turn the pot upside down, supporting the base of the plant with your hand, and gently tap or pull the pot away. If the plant doesn't come out easily, use a trowel to loosen the edges. In some cases, it may be necessary to sacrifice the pot by breaking it.
Step 4: Examine the Roots
Inspect the root system. If the roots are tightly bound or circling the root ball, gently loosen them by hand or with the trowel. If you notice any dead or rotting roots (dark and mushy), trim them off with scissors. Healthy roots should be white or light tan and firm to the touch.
Step 5: Remove Excess Soil
Tap off excess soil from the root ball, but avoid removing too much; you want to keep some of the original soil to help the plant acclimate.
Step 6: Place the Plant in the New Pot
Set the plant in the centre of the new pot. - Ensure that the top of the root ball is about one centimetre below the rim of the new pot.
Step 7: Fill in with Fresh Soil
Add the fresh potting soil around the sides of the root ball, gently pressing down to eliminate air pockets. To help the soil to fill all the air gaps, gently tap the bottom of the pot on the table. Fill until the soil is about one centimetre from the pot's rim. This will help to retain water and stop it from spilling out, thus allowing you to saturate the pot with enough water. Select soil rich in perlite, boasting a light, airy texture that promotes excellent drainage. This fluffy blend nurtures healthy roots and ensures that excess moisture quickly evaporates, creating an ideal environment for vibrant plant growth.
Step 8: Water the Plant
Thoroughly water the plant well after repotting to help settle the soil and eliminate air pockets.
Step 9: Monitor Your Plant
Place the re-potted plant in a location with adequate light and avoid direct sunlight to reduce stress.
If your plant looks like it's dying after repotting, don't panic! It could be acclimatizing to the new soil. Be patient and ensure it gets the right light and water during this adjustment period. Your plant will likely bounce back!
In the following weeks, keep the soil slightly moist but not overly saturated as your plant acclimatizes to its new environment.
Helpful tips while repotting plants
- Water your plants two days before repotting to help them acclimate to the transition.
- Avoid repotting during unsuitable seasons; spring and early autumn are the best times.
- Selecting appropriately sized pots - using too large pots can lead to waterlogging.
- Consider using clear pots, as their transparency allows you to monitor the root system. You can always place a plastic pot inside a decorative pot if desired.
- Choose a pot that is two to five centimetres larger in diameter than the current pot.
- Engaging kids is always enjoyable and helps improve their hand skills.
In conclusion, mastering the art of repotting is one of the best ways to ensure your plants continue to thrive and grow in their indoor environment. Whether you're refreshing the soil, providing extra space for the roots to expand, or simply giving your plant a new lease on life, the process is an opportunity to nurture your green companions and help them reach their fullest potential. By understanding when and how to re-pot—timing it during the plant's active growing season, choosing the right pot, and caring for the roots—you give your plants the best foundation to flourish and bloom.
If you're in Australia and looking to find new Australian plants to add to your collection, PlantArk is an Australian plant marketplace to explore. With a wide range of native and exotic plants, PlantArk offers a convenient way to shop for your favourite greenery online. You can regularly check the website for plant availability and updates, ensuring your dream plant is always within reach.
Looking for more plant care tips, expert advice, and inspiration for your indoor and outdoor garden? Explore our full range of plant care guides and resources in our blog section.
Happy Repotting!